

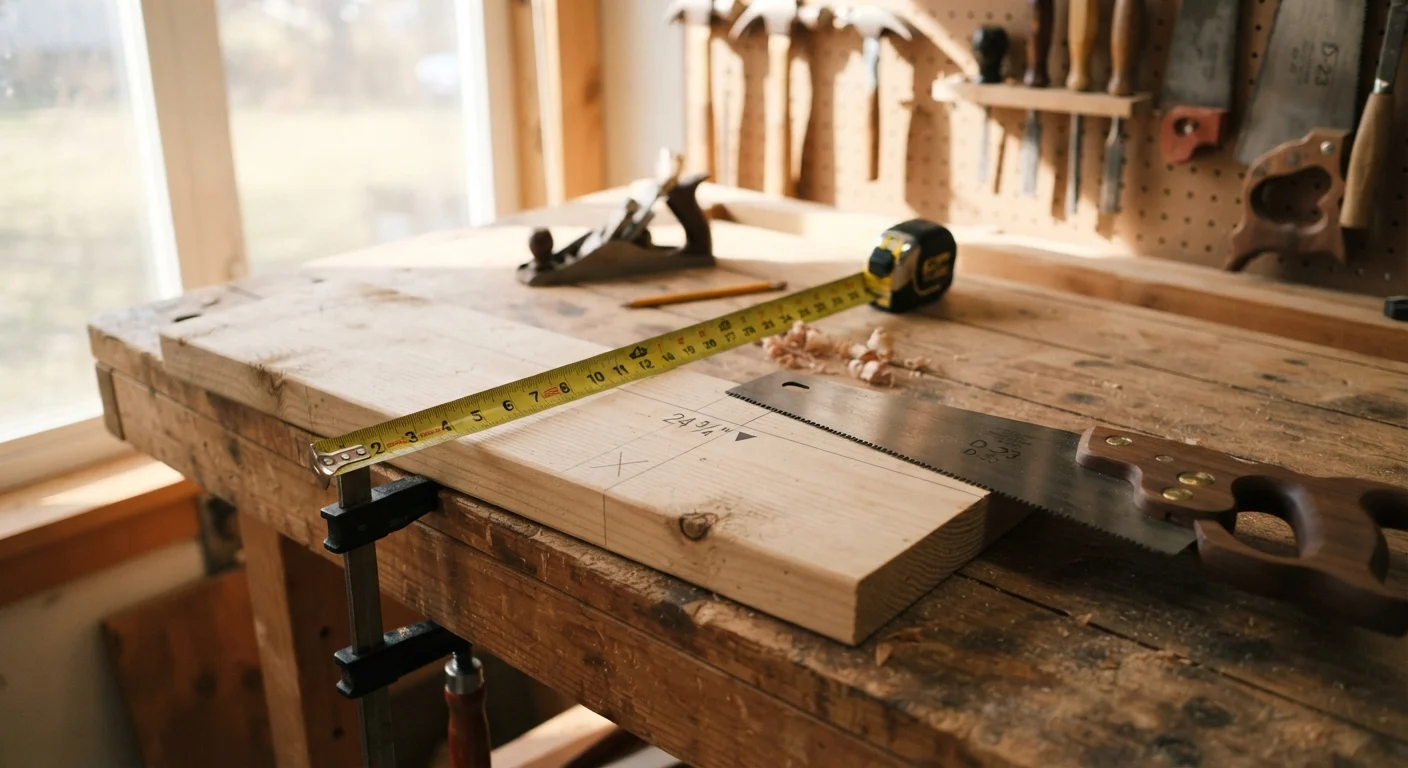
Why Precision Skills Matter More Than Power Tools
Many first-time DIYers assume that results improve with more expensive tools. In reality, the single biggest predictor of a clean, professional-looking outcome is precision at the measuring and marking stage - long before any cutting begins. A high-end saw can't compensate for a measurement taken carelessly, and a wobbly pencil line will produce a crooked cut no matter how steady your hand.
These skills also transfer across virtually every home improvement category. Whether you're installing a floating shelf, fitting a piece of baseboard trim, cutting a section of vinyl flooring, or building a simple garden bed, the process is the same: measure accurately, mark clearly, and cut cleanly. Mastering this trio unlocks a whole category of projects that can otherwise feel intimidating. See our guide to tackling your first home improvement project for a broader introduction to planning and safety.
Measuring: Discipline Before the Pencil Touches the Wood
The old carpenter's adage - measure twice, cut once - exists because measurement errors are easy to make and expensive to fix. A tape measure pulled at a slight angle, a hook that's worn or bent, or a reading taken from the wrong end of the rule are the most common sources of off cuts. Develop a habit of recording every measurement in writing rather than holding it in memory, especially when making multiple cuts from the same piece of material.
Account for Material Thickness When Measuring
When calculating dimensions that stack or nest together - such as shelves inside a cabinet or boards mitered at a corner - remember to account for the thickness of each piece of material. A standard 1×4 board, for example, measures about 3/4 inch thick in actual dimension, not one inch. Sketch your measurements on paper and label each component's actual dimension before cutting to avoid surprises during assembly.
For inside measurements - such as fitting a shelf between two walls - add the two wall readings carefully and confirm with a folding rule or a rigid tape rather than a flexible one, which can bow in the center and introduce error. For longer spans, consider a second pair of hands to keep the tape straight and flat against the surface.
Marking: Lines You Can Actually Follow
The best measurement in the world is only as useful as the line you draw from it. For wood and most sheet goods, a sharp carpenter's pencil or a fine mechanical pencil creates a crisp line that's easy to see. A dull pencil adds 1/16 inch or more of ambiguity - enough to throw off a tight-fitting joint. For dark materials, a white chalk pencil or a silver marking pen improves visibility without damaging the surface.
Always use a straightedge or a speed square when drawing cut lines. Freehand lines drift, even after years of practice. A speed square - a small triangular tool - lets you draw a perfectly perpendicular line across a board in seconds, which is essential for square cuts on dimensional lumber. For longer cuts on plywood or sheet material, a clamped straightedge guide gives the saw a physical rail to run against, removing guesswork entirely.
Cutting: Control, Not Force
Once your line is marked, the goal is to follow it - not to rush through the material. Whether you're using a handsaw, a jigsaw, or a circular saw, the principle is the same: let the blade do the work at its natural pace. Forcing a saw introduces blade flex, heat, and lateral drift, all of which produce rough or angled cuts. A sharp blade cuts faster and cleaner than a dull blade pushed hard.
For hand cutting, position the blade on the waste side of the line - the portion of the material you're removing - so the cut line itself remains intact on the piece you're keeping. Starting a handsaw cut with a few gentle pull strokes creates a kerf (the slot the blade makes) that guides every stroke that follows. For power saws, a short leader cut at the start establishes the direction before the blade reaches full depth. Always ensure the workpiece is fully supported and clamped before cutting. Understanding your home's systems helps put these skills in wider context - knowing what you're cutting into matters as much as how.
Note: For any cuts involving structural elements, electrical conduit paths, or plumbing lines, consult a licensed professional. Always verify local building codes before beginning work that may require a permit or inspection.
The content on this site is provided for informational purposes only and should not be considered a substitute for professional advice. While we strive to provide accurate and up-to-date information, we make no guarantees regarding its completeness or accuracy. Always consult a qualified professional for advice specific to your circumstances before making any decisions.