

Start here
Choosing the Right First Project
Next
Planning Before You Pick Up a Tool
Then
Essential Tools for Beginners
Before you begin
Safety Fundamentals Every DIYer Needs
Know your limits
Knowing When to Call a Professional
Choosing the Right First Project
The single biggest mistake new DIYers make is choosing a project that is too ambitious. A successful first project is not necessarily impressive - it is well-matched to your current skill level and has clearly defined boundaries.
Good beginner projects share a few traits: they are self-contained (a problem with one task does not cascade into another), they are reversible or low-risk if something goes wrong, and they have plenty of instructional resources available. Painting an interior room, patching drywall, replacing a door handle, or installing a ceiling fan (with the circuit breaker off and a helper present) all fit this description.
Avoid projects that involve your home's electrical panel, gas supply, load-bearing walls, or main plumbing lines on your first attempt. These are areas where errors carry serious safety or legal consequences. For a deeper look at how to weigh project complexity against your resources, see our guide on DIY vs. hiring a contractor.
Scope
The defined boundaries of a project - what is included and what is not. A clearly scoped project has a specific start, end, and list of tasks.
Load-bearing wall
A wall that supports the structural weight of the home above it. Removing or modifying one without engineering guidance can compromise the building's integrity.
Building permit
Official approval from your local government required before starting certain types of construction or renovation work. It ensures the project meets safety codes and is inspected properly.
PPE (Personal Protective Equipment)
Safety gear worn to protect the body during work, including safety glasses, gloves, dust masks, and hearing protection.
Stud finder
A handheld tool used to locate the wooden framing studs hidden behind drywall, as well as electrical wires in some models.
Planning Before You Pick Up a Tool
Experienced DIYers spend as much time planning as doing - and beginners should too. Good planning prevents the two most common project killers: running out of materials mid-job and discovering mid-project that a permit was required.
Map Out the Scope
Write down exactly what the project involves, start to finish. Break it into individual steps. This exercise often surfaces hidden tasks - like needing to patch a wall before painting it - that would otherwise be surprises.
Check Permit Requirements
Many cosmetic improvements need no permit, but anything involving electrical work beyond device-level swaps, structural changes, or additions almost certainly does. Our article on home improvement permits explains the process clearly. Skipping a required permit can create real problems when you sell your home or make an insurance claim.
Measure Twice
Inaccurate measurements are responsible for an enormous share of DIY frustration. Take every critical measurement at least twice, record them clearly, and double-check before ordering materials. Building the precision habits covered in measuring, marking, and cutting pays dividends across every project you take on.
Build a Simple Project Checklist
Before purchasing a single material, write out every step of your project as a checklist. Include measurements needed, materials with quantities, tools required, and any permit verification steps. Checking off each step as you go keeps the project on track and helps you catch gaps before they become mid-project problems.
Essential Tools for Beginners
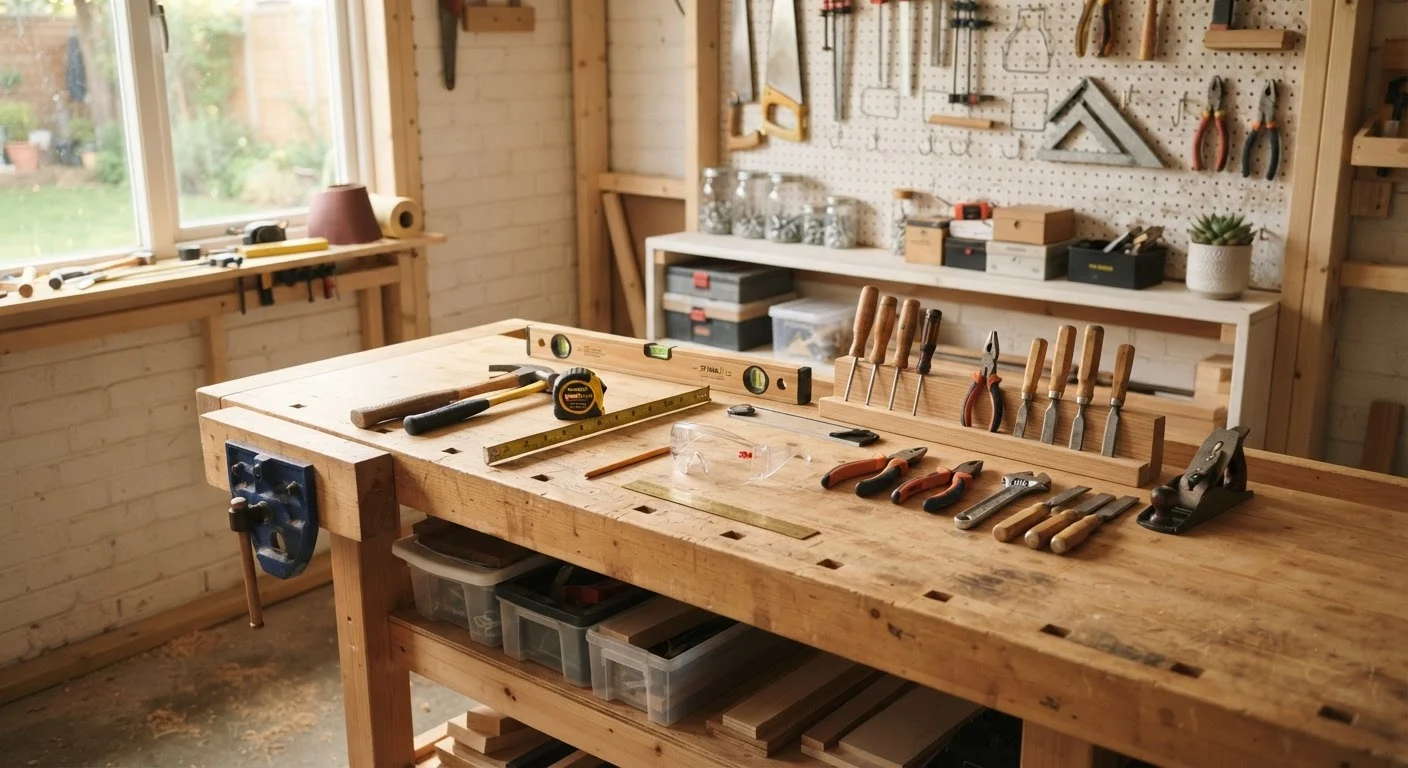
You do not need a workshop full of equipment to get started. A focused core toolkit handles most beginner-level tasks reliably. Invest in quality for tools you will use constantly; rent or borrow specialty tools you might use only once.
- Tape measure - 25 ft is the most versatile length for home projects.
- Hammer - a 16 oz claw hammer covers driving and pulling nails.
- Cordless drill/driver - the single most useful power tool for a beginner.
- Screwdriver set - both flathead and Phillips in multiple sizes.
- Level - a 24-inch level prevents crooked shelves and tilted frames.
- Utility knife - essential for scoring, trimming, and cutting materials cleanly.
- Safety glasses and work gloves - not optional.
Expand your toolkit project by project rather than buying everything upfront. This approach builds familiarity with each tool before the next one arrives.
Safety Fundamentals Every DIYer Needs
Safety habits are not just for advanced projects - they matter from day one. Most DIY injuries are preventable and happen when someone is tired, rushed, or skips protective gear for a task that feels minor.
Personal Protective Equipment (PPE)
Wear safety glasses whenever you are cutting, drilling, or working overhead. Gloves protect against cuts and splinters. Dust masks or respirators are important when sanding, cutting treated wood, or working in older homes where lead paint or asbestos may be present - if you suspect either, stop and consult a professional before proceeding.
Work Environment
Keep your workspace clear of tripping hazards and ensure good lighting. Unplug power tools when changing blades or bits. Never work on a ladder alone for tasks that require both hands at height.
Know What's Inside Your Walls
Before drilling or cutting into walls, use an inexpensive stud finder with AC wire detection to locate studs and hidden electrical wires. Hitting a live wire is a serious hazard. For any work adjacent to your electrical panel or gas lines, consult a licensed professional - these are not DIY territory for beginners. You can also browse our Home Maintenance hub for ongoing safety and upkeep guidance.
Older Homes May Contain Hazardous Materials
Homes built before 1978 may contain lead-based paint, and those built before the 1980s may have asbestos in insulation, floor tiles, or drywall joint compound. Disturbing these materials during renovation can release harmful particles. If your home falls into this age range, consult a certified inspector before sanding, drilling, or demolishing any surfaces.
Knowing When to Call a Professional
Part of being a capable DIYer is recognizing the jobs that genuinely belong to licensed tradespeople. This is not a limitation - it is good judgment. Calling in the right professional at the right time protects your home, your family, and your investment.
The clearest signals that a project requires a licensed pro include:
- Any work on your main electrical panel, service entrance, or new circuit runs
- Gas line installation, repair, or rerouting
- Structural modifications, including removing or altering walls that may be load-bearing
- Connecting new plumbing to the main supply or drain lines
- Roofing work beyond minor patching on single-story structures
For nuanced situations where the line between DIY and pro isn't obvious, our article on DIY vs. professional home repairs helps you assess the real risks on either side. When hiring, always verify that contractors hold appropriate licenses and insurance for your state, and ask for references from comparable projects.
Every skilled homeowner started exactly where you are. Choose a project that fits your current abilities, plan it carefully, work safely, and build from there. The confidence that comes from completing even a modest project well is a foundation you will draw on for years.
Frequently Asked Questions
Painting a room, replacing a light fixture (after switching off the breaker), or installing floating shelves are manageable starting points. These tasks are low-risk, require minimal tools, and produce visible results that build confidence quickly.
Many cosmetic projects - painting, flooring, minor repairs - do not require permits. However, work involving electrical panels, structural changes, plumbing into mains, or additions typically does. Always check with your local building department before starting.
If the work involves gas lines, load-bearing walls, main electrical panels, or roofing, it is generally best handled by a licensed professional. A good rule of thumb: if an error could cause injury, major property damage, or a code violation, consult a pro.
A hammer, tape measure, level, set of screwdrivers, cordless drill, utility knife, and safety glasses cover the vast majority of beginner tasks. Add tools incrementally as your projects grow in complexity.
List all materials with quantities, add a 10-20% buffer for waste and unexpected needs, and factor in tool rental or purchase costs. Getting material prices from a local hardware store before starting gives you the most realistic budget.
Not necessarily. Factor in your time, the cost of tools, the risk of mistakes that require professional correction, and the value of a warranty on professional work. For some projects, hiring out is the more cost-effective choice overall.
The content on this site is provided for informational purposes only and should not be considered a substitute for professional advice. While we strive to provide accurate and up-to-date information, we make no guarantees regarding its completeness or accuracy. Always consult a qualified professional for advice specific to your circumstances before making any decisions.