

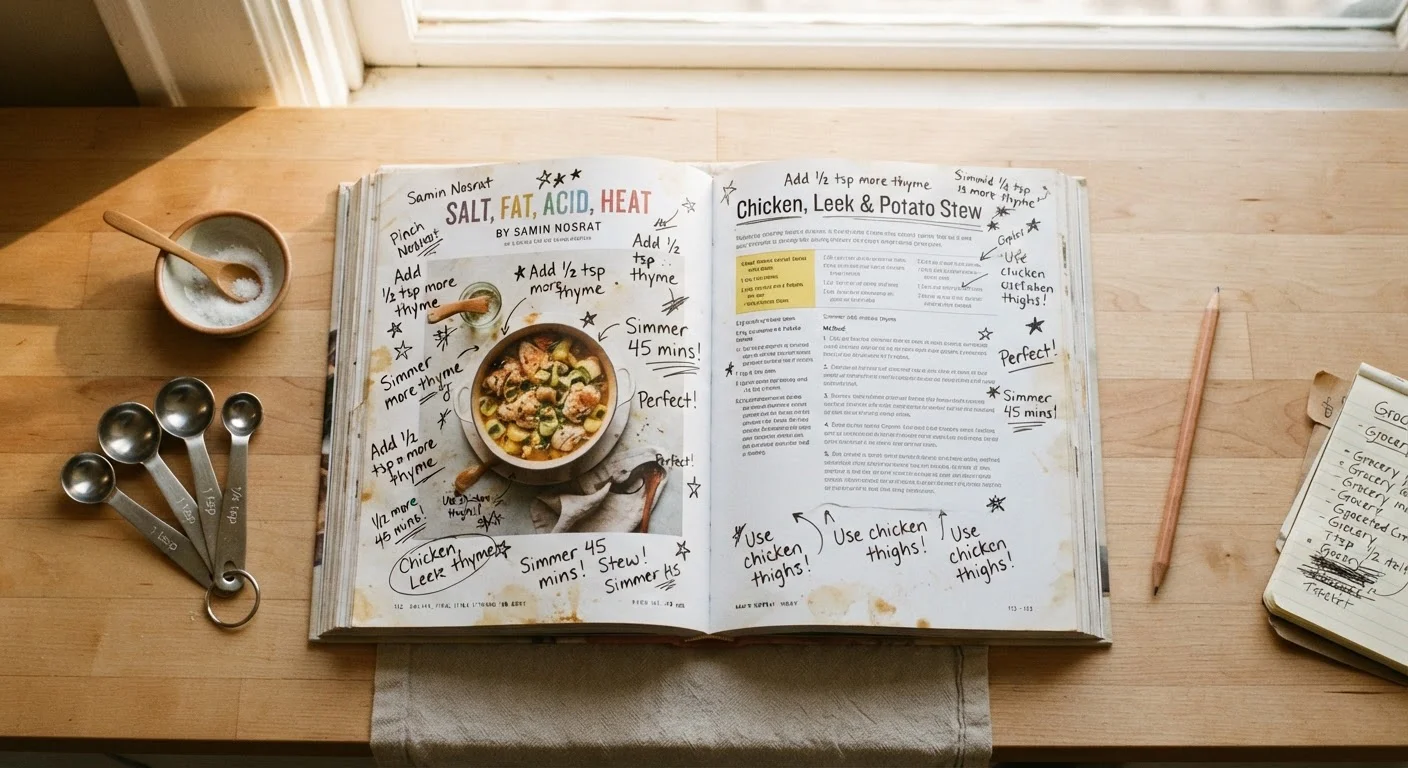
Why Recipes Trip Up Beginners
Recipes are written by people who already cook. That means they assume a baseline of knowledge - what a simmer looks like, what "lightly packed" means when measuring brown sugar, or why resting meat matters. For someone newer to the kitchen, that assumed knowledge creates gaps that lead to frustrating results despite following instructions.
The good news: most recipe language follows consistent patterns. Once you learn the shorthand, reading a recipe becomes straightforward. Before diving in, make sure your kitchen is stocked with what you'll need - the kitchen setup checklist for beginning cooks is a useful starting point if you're still building out your space.
Dry measuring cups
Used to measure flour, sugar, and other dry ingredients accurately by leveling off the top.
Liquid measuring cup
Designed for water, broth, oil, and other liquids - markings are read at eye level.
Measuring spoons
Handles small quantities of both dry and liquid ingredients like salt, baking powder, and vanilla.
Kitchen timer
Tracks cooking and resting times precisely so you don't rely on guesswork.
Instant-read thermometer
Confirms doneness for meat and baked goods when visual cues alone aren't reliable.
With the right tools and a clearer grasp of recipe language, you're ready to cook with more confidence and fewer surprises.
How to Read a Recipe Step by Step
The steps below walk you through a reliable process for approaching any recipe - from the first read-through to tasting before you serve.
What you will need
Prep First, Cook Second
Professional cooks call it mise en place - a French phrase meaning 'everything in its place.' Measure and prep all your ingredients before you turn on the stove. This prevents scrambling mid-cook, which is when most mistakes happen. Even five minutes of upfront prep can completely change the experience.
Read the recipe from start to finish before doing anything
This is non-negotiable. Skim the ingredient list, then read every step in order. You're looking for anything that requires advance action - marinating overnight, soaking beans, or bringing butter to room temperature. Many beginners start cooking and discover mid-step that something should have been done an hour earlier.
Decode the abbreviations in the ingredient list
Recipes use shorthand that can be confusing the first time you see it. Here are the most common ones:
- tsp or t = teaspoon
- tbsp or T = tablespoon
- c = cup
- oz = ounce (weight or fluid, depending on context)
- lb = pound
- pkg = package
Note that fluid ounces measure volume while weight ounces measure mass - the recipe context usually makes clear which applies.
Understand what the technique words actually mean
Recipe instructions often use verbs that carry specific meaning. Confusing them changes results:
- Fold: Gently combine with a spatula using a light over-under motion - used when you need to preserve air, as in whipped eggs or batter.
- Simmer: Low, steady bubbles just below a full boil. Not the same as boiling, which is more vigorous.
- Sauté: Cook quickly in a small amount of fat over medium-high heat with frequent movement.
- Rest: Let cooked meat sit off heat before cutting - allows juices to redistribute.
- Deglaze: Add liquid to a hot pan to lift the browned bits stuck to the bottom - those bits carry flavor.
For flavor-building techniques, see how aromatics, fat, and heat work together.
Prep your ingredients before cooking starts
Once you've read through and understand the steps, measure and prepare every ingredient. Chop vegetables, mince garlic, and portion out spices into small bowls or onto a plate. This is mise en place in practice. When heat is involved, things move quickly - having everything ready prevents overcooking while you search for the cumin.
If knife prep feels uncertain, the fundamentals of knife technique can help you work more safely and efficiently.
Follow temperatures and times as written - then learn when to adjust
Recipes specify oven temperatures and cook times based on particular conditions. Your oven may run slightly hot or cool - if you notice consistent issues (browned edges before the center sets, for example), an inexpensive oven thermometer can confirm whether your dial is accurate. Cook times are guidelines, not guarantees; visual and texture cues matter too. Check doneness using the methods the recipe describes: golden edges, a clean toothpick, or an internal temperature. See common cooking temperatures and what they mean for a practical reference.
Taste and adjust before serving
Every recipe is written for a general audience and assumes average palates and ingredient potencies. Salt levels in canned goods vary. Citrus can be more or less tart. Herbs vary in freshness. Tasting before you plate lets you catch a dish that needs a squeeze of lemon, a pinch more salt, or an extra minute of cooking. This habit separates confident cooks from those who follow instructions rigidly and hope for the best.
Pan Size and Oven Temp Are Not Optional
Substituting a 9-inch pan when a recipe calls for an 8-inch pan changes how batter spreads and how quickly the center sets. Similarly, guessing at oven temperature can leave food undercooked or overdone. Use the specified pan and preheat your oven fully before the dish goes in.
"To Taste" Is Not Permission to Skip Salt
When a recipe says "season to taste," it means taste and adjust - not omit. Under-seasoned food is one of the most common beginner pitfalls. Add a small amount, taste, and add more incrementally. See our guide on salting at the right moment for more detail on when and how much to add.
As you get more comfortable decoding recipes, you may find yourself ready to plan ahead more strategically. Explore how batch cooking compares to ingredient prepping to see which approach fits your weekly routine. And if you want to build even more flavor instincts, common habits that lead to bland food is worth a read.
The content on this site is provided for informational purposes only and should not be considered a substitute for professional advice. While we strive to provide accurate and up-to-date information, we make no guarantees regarding its completeness or accuracy. Always consult a qualified professional for advice specific to your circumstances before making any decisions.