

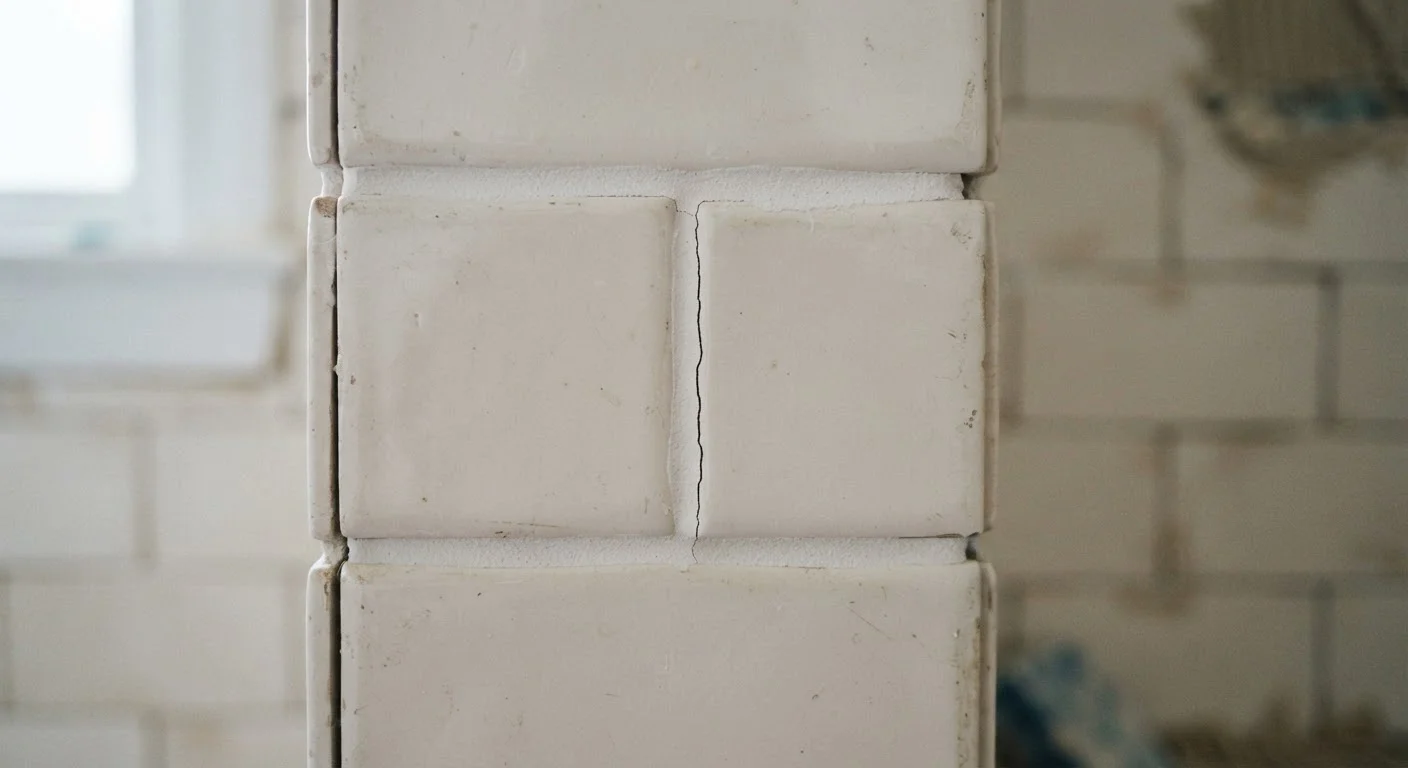
Why Grout Fails Before It Should
Nothing is more frustrating than finishing a tile project only to find hairline cracks appearing in your grout within days or weeks. The good news: premature grout failure is almost always preventable. Understanding what actually causes it puts you in control.
Grout is a cement-based filler, not an adhesive. It's designed to fill gaps between tiles, resist moisture, and look clean - but it has real physical limitations. It cannot flex with movement, compensate for a weak substrate, or cure properly if it's rushed or improperly mixed. When cracks show up early, the cause typically traces back to one of a handful of predictable mistakes made during prep or application.
For a broader look at how grout and caulk work together to protect wet areas, see our guide to keeping grout and tile in good shape.
Applying grout over an unstable or flexing substrate.
Why it happens: Homeowners often focus on the tile surface itself and assume the floor or wall underneath is solid enough. Slight deflection in a subfloor or loosely bonded cement board goes unnoticed until the grout cracks under normal load.
Mixing grout to the wrong consistency - too wet or too stiff.
Why it happens: Many people add extra water to make grout easier to spread, not realizing that excess water weakens the cement matrix as it evaporates, leaving a porous, fragile result. Conversely, grout that's too stiff doesn't fully consolidate into the joints.
Grouting corners and plane changes instead of using caulk.
Why it happens: It's visually simpler to run grout continuously across a corner than to switch materials, and many DIYers don't realize that inside corners are considered movement joints in tile installation standards.
Not allowing tile adhesive (thinset mortar) to fully cure before grouting.
Why it happens: Enthusiasm to finish the project leads many homeowners to grout the next day, even when the thinset hasn't fully hardened. Walking on or grouting over uncured thinset can shift tiles slightly, telegraphing stress directly into fresh grout.
Skipping proper joint cleaning and leaving tile spacers or debris in the joints.
Why it happens: Plastic tile spacers are sometimes left in joints or only partially removed, and dried thinset squeeze-out is overlooked. Grout applied over these obstructions doesn't fully fill the joint, creating weak spots.
Building Better Grouting Habits
Avoiding grout cracks is largely about patience and precision. A few consistent practices make the difference between grout that lasts years and grout that needs redoing within a season.
~80%
Tile failures linked to installation error
Industry estimates from tile installation trade organizations suggest the vast majority of tile and grout failures stem from improper installation rather than material defects.
24-72 hrs
Typical thinset cure window before grouting
Most standard thinset mortars require at least 24 hours to cure sufficiently before grouting, with longer times recommended in high-humidity or low-temperature conditions.
Start with a stable, clean surface. Before any grout touches tile, verify that the substrate - cement board, existing tile, or mortar bed - is fully cured, firmly attached, and free of dust, grease, and old grout residue. Even small amounts of contamination break the bond between grout and tile edges.
Use movement joints at corners and changes of plane. Where walls meet floors, where tile meets a different material, or wherever two surfaces can shift independently, grout should not be used. These spots require flexible caulk that can absorb expansion and contraction without cracking. This is one of the most widely overlooked steps in DIY tile work.
Don't Grout Over Structural Cracks
If you notice existing cracks in the substrate - such as in a concrete slab or mortar bed - filling them with grout is a temporary fix at best. Structural movement will cause fresh grout to crack in the same location repeatedly. Consult a qualified contractor to evaluate whether the underlying issue needs professional attention before any new tile or grout is applied.
Protect the cure. After grouting, keep the area lightly misted with water for 48-72 hours and avoid heavy foot traffic or moisture exposure until the grout has fully hardened. Sealing with an appropriate penetrating sealer (once fully cured) adds a layer of protection against moisture infiltration that can lead to freeze-thaw cracking in vulnerable areas.
Tile work shares something with other home repair tasks - the prep work determines the outcome far more than the finishing material itself. Similar principles apply when patching walls; our drywall patching guide explains why surface prep makes or breaks repairs there too.
The content on this site is provided for informational purposes only and should not be considered a substitute for professional advice. While we strive to provide accurate and up-to-date information, we make no guarantees regarding its completeness or accuracy. Always consult a qualified professional for advice specific to your circumstances before making any decisions.