

Why the Size of the Hole Matters More Than Anything
Walk into any hardware store and you will find an entire aisle dedicated to drywall repair products - sprays, spackle tubs, mesh patches, and pre-mixed compound buckets. The sheer variety suggests complexity, but the core principle is straightforward: the size of the damage determines which approach will actually hold. Using the wrong method for the wrong hole is the single most common reason repairs look great for a week and then crack, sag, or pop out entirely.
Think of drywall repair in three tiers based on hole diameter:
- Small (up to about 1/2 inch): Nail holes, screw pops, small dents. Lightweight spackle or patching compound applied with a putty knife is sufficient. These repairs have no structural load and dry quickly.
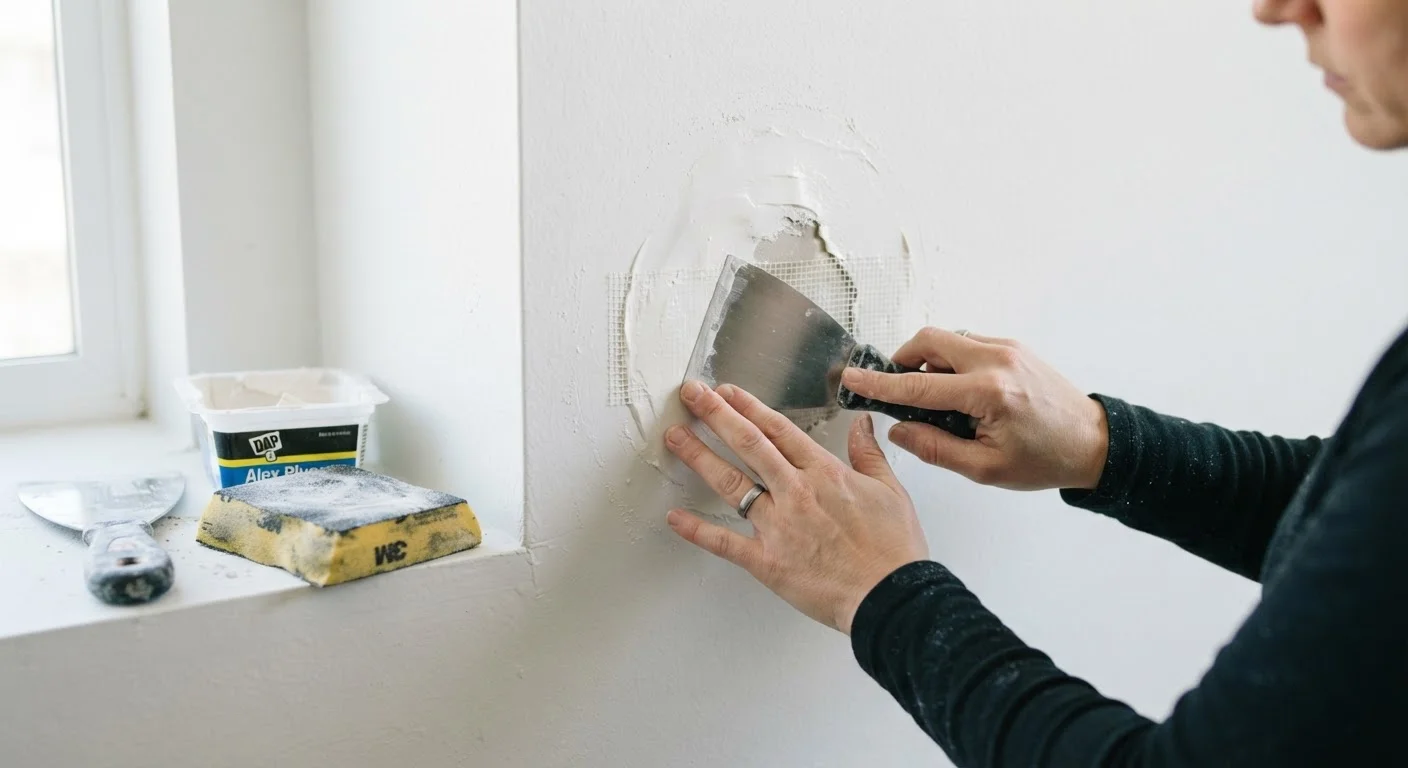
- Medium (1/2 inch to about 4 inches): Doorknob strikes, small accidental impacts. A self-adhesive fiberglass mesh patch provides the necessary backing, and joint compound is applied over it in multiple coats.
- Large (4 inches and above): Major impacts, water damage, or removed fixtures. These require a new piece of drywall anchored to backing boards or existing studs, taped at the seams, and finished with joint compound - exactly as drywall is originally installed.
Attempting to fill a four-inch hole with spackle is not a shortcut - it is a guaranteed callback repair in a few months.
~85%
U.S. homes with drywall interior walls
Drywall has been the dominant interior wall material in American residential construction since the mid-20th century, making drywall repair one of the most universally applicable home maintenance skills.
3 coats
Recommended joint compound coats for most patches
Most drywall finishing guides - including those from trade organizations - recommend a minimum of two to three thin coats for a flush, crack-resistant result on medium and large repairs.
24 hrs
Typical drying time per coat of joint compound
Under standard indoor conditions (around 65-75°F and moderate humidity), joint compound generally requires at least 24 hours per coat before sanding or recoating safely.
The Most Common Mistakes That Make Patches Fail
Even when homeowners choose the right method, a few consistent mistakes undermine the result. Understanding them in advance is what separates a repair that blends in from one that telegraphs itself across a freshly painted wall.
Skipping Primer
Joint compound and spackle are very porous. Without a coat of drywall primer - sometimes called PVA primer - applied over the dried patch before painting, the topcoat will absorb differently into the repaired area than into the surrounding wall. The result is a visible dull spot called flashing, even if the surface is perfectly smooth. Priming is not optional.
Applying Too Much Compound at Once
Thick applications of joint compound trap moisture inside and dry unevenly, leading to cracking and shrinkage. Thin coats - no more than 1/8 inch per layer - dry reliably and bond properly. Three thin coats consistently outperform one heavy coat.
Not Feathering the Edges
A patch applied with abrupt edges will always be visible, even under multiple coats of paint. Feathering means blending the edges of each compound coat outward onto the surrounding wall using a progressively wider knife - moving from a 6-inch knife on the first coat to a 10- or 12-inch knife on the final coat.
Rushing Drying Time
Joint compound changes from gray to a consistent white as it dries. Sanding or applying another coat before it has fully dried almost always causes tearing, adhesion failure, or trapped moisture. Patience here directly determines the longevity of the repair. For tips on other repair materials that also demand proper prep time, see our article on why fresh grout cracks so fast.
Sand Between Every Coat
Use 120-grit sandpaper or a fine sanding sponge between coats of joint compound to knock down ridges and tooth the surface for better adhesion. Always wipe away dust with a damp cloth and let the surface dry completely before applying the next coat. This small extra step is what separates a nearly invisible repair from one that requires a second pass.
When a DIY Patch Is the Right Call - and When It Isn't
Most nail-hole fills, small dents, and even medium mesh patches are well within reach for a homeowner willing to take the time. The material cost is low, the tools are minimal, and the skill ceiling is accessible with careful attention to technique.
That said, certain situations warrant a pause before grabbing the spackle. Damage that reveals discoloration, soft gypsum, or a musty smell points to moisture intrusion - patching over active moisture damage is at best a temporary cover-up and at worst an invitation for mold growth inside the wall cavity. Similarly, repairs near electrical outlets, junction boxes, or plumbing should involve a professional inspection before any patching begins.
Very large repairs - anything requiring new drywall panels, multiple seams, or texture matching across a broad area - can be harder to finish invisibly without experience and the right tools. For an honest assessment of where the DIY line sits, our guide on DIY vs. professional home repairs walks through the factors worth weighing. As with sealing drafts with caulk or weatherstripping, matching the tool to the task is what makes the difference between a lasting fix and a recurring problem.
This article is for general informational and educational purposes only. Always consult a licensed contractor or building professional when dealing with moisture damage, structural concerns, or work that may require permits in your area.
Frequently Asked Questions
Spackle is formulated for small imperfections like nail holes and minor dents. Applying it to holes larger than about half an inch typically leads to cracking and shrinking as it dries, because there is no structural backing. For larger holes, use a mesh patch kit or a proper drywall insert with joint compound.
Most patches require at least two to three coats of joint compound, with full drying time between each coat. The first coat fills the repair, while subsequent coats feather the edges smoothly into the surrounding wall. Skipping coats or not sanding between them are common reasons patches remain visible after painting.
Drying time varies based on thickness, humidity, and room temperature, but a general rule is 24 hours per coat under normal conditions. Using a fan or dehumidifier can speed the process. Never apply a second coat over compound that still appears gray or feels cool to the touch - it needs more time.
A patch can show through paint if the surface was not adequately sanded and feathered, or if primer was skipped. Always prime the patched area before applying finish paint - drywall compound is highly porous and will absorb paint unevenly without primer, creating a dull spot called 'flashing.'
Damage larger than about six inches across, repairs near electrical boxes or plumbing, or walls showing signs of moisture damage or mold are situations where a professional assessment is advisable. Repeated cracking in the same spot can also indicate a structural issue that goes beyond a cosmetic fix.
Yes, matching the thickness of the surrounding drywall is important for a flush finish. Standard residential drywall is typically 1/2 inch thick, though some ceilings and fire-rated walls use 5/8 inch. Using the wrong thickness will create a visible ridge or depression even after finishing.
The content on this site is provided for informational purposes only and should not be considered a substitute for professional advice. While we strive to provide accurate and up-to-date information, we make no guarantees regarding its completeness or accuracy. Always consult a qualified professional for advice specific to your circumstances before making any decisions.