

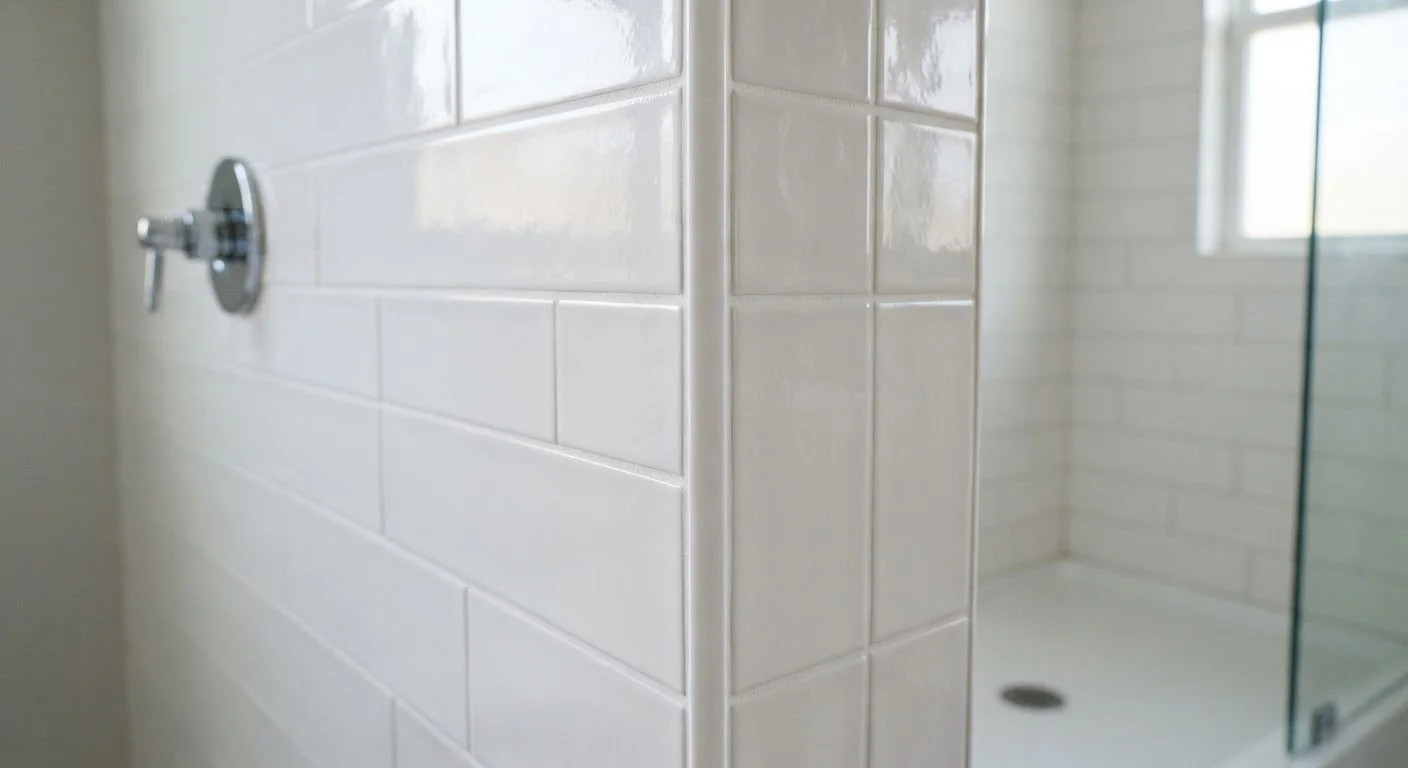
Why Grout and Caulk Both Matter
Tile itself is highly water-resistant, but the joints between tiles are not automatically protected. Grout - a cement- or epoxy-based filler - seals the gaps between tile faces on flat surfaces. Caulk, a flexible sealant, handles a different job: it bridges the gap wherever two surfaces meet at a change in plane, such as where a tub meets the tile wall, or where a wall tile meets the floor. Because those corners flex slightly as the house settles and temperatures shift, rigid grout would crack there. Caulk's flexibility absorbs that movement.
When either material fails, water migrates behind the tile. Over time, that moisture softens the cement board or drywall substrate, promotes mold growth, and can eventually loosen tiles from the wall. Catching problems early - before water reaches the substrate - is far less expensive than a tile teardown. For a broader look at how caulk functions in different home contexts, see our guide to caulk vs. weatherstripping.
Never Caulk Over Failing Grout
Applying caulk over cracked or soft grout traps moisture and accelerates deterioration behind the tile surface. Always remove damaged grout fully and address the underlying cause before sealing. If grout is failing in multiple areas, inspect the substrate for water damage before proceeding with any cosmetic repairs.
What You'll Need
Gather your materials before you start. Having everything on hand prevents mid-project interruptions that can cause caulk to skin over before you smooth it.
What you will need
Oscillating multi-tool or grout saw
Removes old or cracked grout from joints cleanly without damaging adjacent tile edges.
Utility knife
Cuts through old caulk along tub surrounds and corner joints for removal.
Caulk remover tool or plastic scraper
Lifts softened caulk residue away from the surface without scratching tile or the tub deck.
Caulk gun
Provides controlled, even delivery of new caulk along the joint.
100% silicone or siliconized latex caulk (tub-and-tile rated)
Forms a waterproof, flexible seal in corners and change-of-plane joints in wet areas.
Isopropyl alcohol and clean rags
Degreases the surface before caulking to ensure proper adhesion.
Painter's tape
Creates clean, straight caulk lines and protects tile surfaces from smearing.
Grout sealer
Penetrates and seals porous cement grout to resist moisture and staining after work is complete.
Step-by-Step: Inspecting, Removing, and Replacing
Follow these steps in order. Skipping surface prep - the most common DIY shortcut - is the primary reason new caulk fails within months. For a deeper dive into why new grout fails prematurely, our companion article on why fresh grout cracks so fast is worth reading before you begin.
Inspect All Joints and Grout Lines
Run a finger firmly along every caulk line around the tub, shower pan, and any inside corners. Healthy caulk feels solid and slightly springy; failing caulk will lift, crumble, or show visible gaps. For grout, press along the lines - soft or powdery grout indicates moisture has already begun to break it down. Use a flashlight to spot discoloration or black mold at the base of joints.
Remove Old Caulk Completely
Score both edges of the old caulk bead with a utility knife, cutting parallel to the joint without digging into the tub or tile. Use a plastic scraper or caulk-removal tool to peel the bead away in strips. Apply a commercial caulk softener if the bead is stubborn - let it sit per label directions, then scrape again. Remove every trace of old material; new caulk bonds poorly to old caulk residue.
Clean and Dry the Surface Thoroughly
Wipe the joint area with isopropyl alcohol on a clean rag, removing all soap scum, grease, and dust. Allow the surface to dry completely - at minimum 24 hours after any water exposure. New caulk applied to a damp surface will fail within weeks regardless of product quality. This step is where most DIY recaulking projects fall short.
Apply New Caulk in One Smooth Pass
Cut the caulk tube tip at a 45-degree angle to match the joint width - a smaller opening gives better control. Hold the gun at a consistent angle and move steadily along the joint, applying light, even pressure. Aim to slightly overfill rather than underfill the gap, as you'll tool it flat in the next step. Work the full length of each joint without stopping if possible.
Tool the Bead and Remove Tape
Wet your fingertip or a caulk-finishing tool with water (for latex) or a dilute dish-soap solution (for silicone) to prevent sticking. Draw it firmly along the bead in a single stroke, pressing the caulk into the joint and creating a slightly concave profile. If you used painter's tape, pull it away immediately at a 45-degree angle before the caulk skins over.
Allow Full Cure Before Water Exposure
Check the product label for cure time - most tub-and-tile silicone caulks require 24 hours before water contact, and some recommend up to 48 hours for full cure in a damp bathroom environment. Keep the exhaust fan running and avoid using that fixture until the caulk is fully cured. Premature water exposure is the most common cause of fresh caulk failing within days.
Seal Your Grout Every Year
Cement-based grout is porous and will absorb moisture and soap film even when it looks intact. Applying a penetrating grout sealer once a year - or whenever water stops beading on the surface - significantly extends the life of your grout and reduces staining. The application takes under 30 minutes and requires no special tools beyond a small brush or applicator bottle.
Keeping Wet Areas in Good Shape Long-Term
Maintenance is simpler than repair. After recaulking or regrouting, apply a penetrating grout sealer to all grout lines in wet areas. Cement-based grout is porous and absorbs soap scum and moisture; sealer closes those pores. Reapply sealer roughly once a year, or whenever water no longer beads on the grout surface.
Ventilation is equally important. Running a bathroom exhaust fan during and for 15 minutes after showers dramatically reduces ambient humidity, which slows mold growth and reduces the freeze-thaw-style stress that degrades caulk over time. Wipe down tile walls and the tub deck periodically to remove soap film before it bonds to grout.
Inspect caulk lines every six months. Look for discoloration, lifting edges, or any visible gap. Small separations caught early can sometimes be addressed with a thin bead of new caulk applied over a clean, dry seam - though a full removal and replacement is more reliable. If you're also planning tile work elsewhere in your home, our article on backsplash installation details covers surface prep principles that apply in wet areas as well.
The content on this site is provided for informational purposes only and should not be considered a substitute for professional advice. While we strive to provide accurate and up-to-date information, we make no guarantees regarding its completeness or accuracy. Always consult a qualified professional for advice specific to your circumstances before making any decisions.