

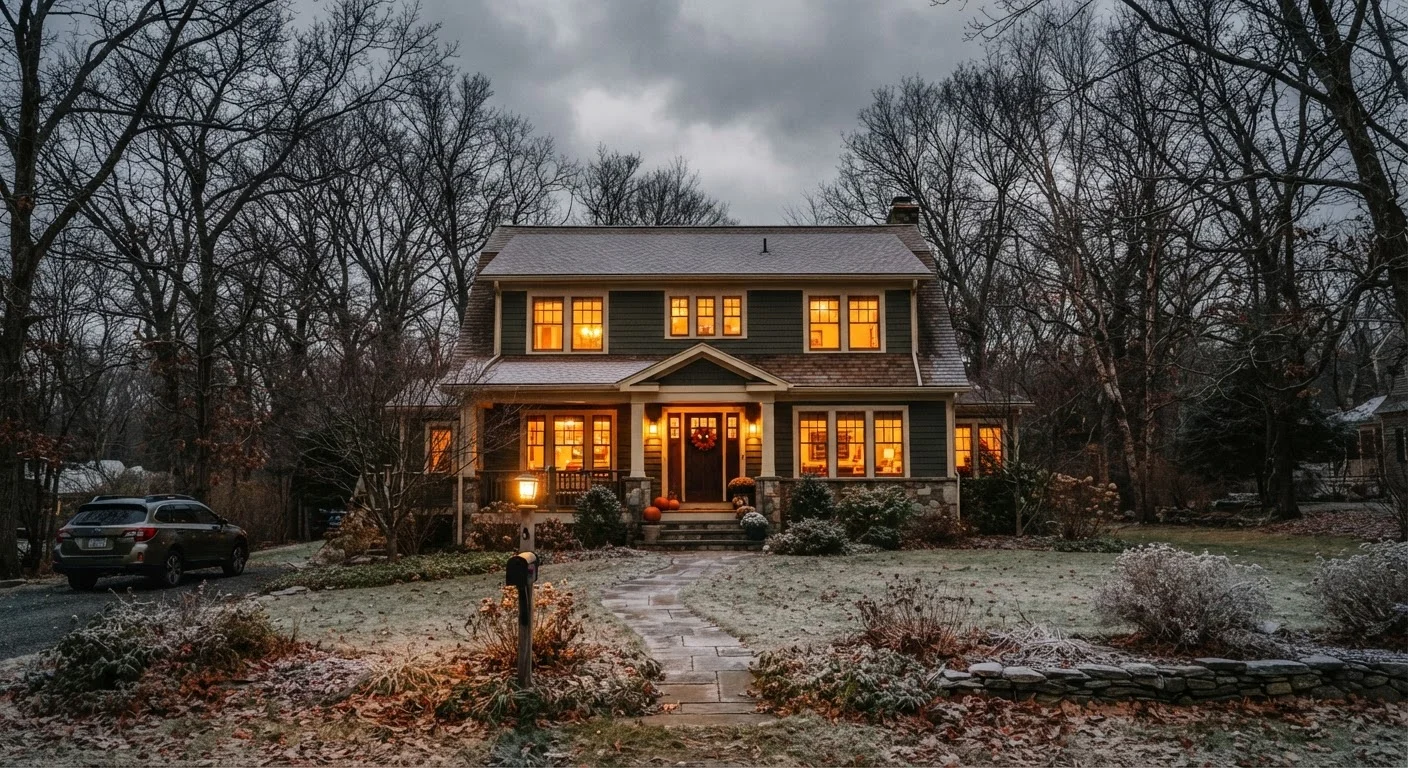
Why Winterizing Before the First Freeze Matters
A single hard freeze - defined as temperatures at or below 28°F for several hours - is enough to burst an unprotected pipe, crack an outdoor faucet, or introduce significant moisture into your home through gaps you never noticed in warmer months. The damage from frozen and burst pipes alone can cost thousands of dollars in repairs, far outweighing the time invested in prevention.
Winterizing isn't just about plumbing. It's a whole-home practice that covers your heating system, your building envelope (the walls, windows, doors, and foundation that separate conditioned air from outside), your roof and gutters, and your outdoor spaces. Think of it as locking up the house against winter's worst before winter arrives.
This guide walks through each major area in priority order, so if your time is limited, you can tackle the highest-stakes tasks first. For a broader view of how winterizing fits into your overall home care routine, see your home's annual maintenance calendar - it puts each seasonal task in context.
Time Your Winterizing Right
Aim to complete outdoor plumbing tasks before your area's first forecast freeze - typically when overnight temperatures are expected to drop below 32°F for the first time. Indoor tasks like heating system checks and draft sealing can be done any time in autumn, but earlier is better. Watching your local extended forecast and acting a week ahead gives you comfortable working conditions and a margin of safety.
What You'll Need Before You Start
Most winterizing tasks require only basic tools and inexpensive materials. Gather these before beginning so you're not stopping mid-project.
What you will need
Pipe insulation foam sleeves
Wrap around exposed pipes in unheated areas to slow heat loss and reduce freeze risk.
Weatherstripping
Seals gaps around door frames to prevent cold air infiltration.
Caulk and caulk gun
Fills small gaps around window frames, foundation penetrations, and exterior trim.
Expanding spray foam
Seals larger voids around pipes, wires, and utility penetrations through exterior walls.
Replacement furnace filter
Ensures your heating system runs efficiently and maintains good indoor air quality through winter.
Garden hose storage reel or bin
Keeps drained hoses coiled and protected from freeze damage during storage.
Outdoor faucet cover (foam insulating cap)
Adds an extra layer of insulation to frost-free hose bibs after the hose is disconnected.
Flashlight or headlamp
Necessary for inspecting dark crawl spaces, attic corners, and basement utility areas.
Step-by-Step Winterizing Walkthrough
Work through the steps below methodically. Start outdoors while conditions are still comfortable, then move inside to address heating, insulation, and draft-sealing. If you're new to hands-on home maintenance, the guidance in tackling your first home improvement project can help you build confidence before you begin.
Disconnect and drain all outdoor garden hoses
Unscrew every garden hose from its outdoor faucet (hose bib). Even frost-free hose bibs - designed to drain automatically when the water supply shuts off - cannot drain properly if a hose is still attached. Left connected, a hose traps water in the spout, defeating the frost-free design entirely. Once disconnected, drain each hose completely, coil it, and store it indoors or in a protected space.
Shut off and drain outdoor irrigation systems
If your home has an in-ground sprinkler or drip irrigation system, locate the system's dedicated shut-off valve and turn off the water supply. Then open each zone's drain valves or use a compressed air blow-out to evacuate water from the lines. Residual water left in irrigation pipes expands as it freezes and can crack PVC fittings and emitter heads. Consult your irrigation system's manual for the manufacturer-recommended winterization method, as blow-out procedures require specific compressor settings to avoid damaging components.
Insulate exposed pipes in unheated spaces
Walk through your crawl space, basement, attached garage, and any other unheated areas. Identify water supply pipes - they're typically copper or plastic - running close to exterior walls or in spaces that won't be heated. Slide foam pipe insulation sleeves over these pipes, cutting them to length with scissors and securing joints with foil tape. Pay particular attention to pipes on north-facing exterior walls and any that pass through an uninsulated rim joist area.
Seal air leaks around windows, doors, and penetrations
On a cold day, move your hand slowly around door and window frames, electrical outlets on exterior walls, and any spot where pipes or wires enter the house. Drafts indicate unsealed gaps. Apply fresh weatherstripping to door frames where the existing strip is compressed, cracked, or missing. Re-caulk the perimeter of window frames where the old caulk has shrunk or cracked. Use expanding foam spray for larger gaps around utility penetrations. Don't overlook the attic hatch - an unsealed hatch is a significant source of heat loss.
Service your heating system before you need it
Replace the furnace or air handler filter - a clogged filter reduces efficiency and can strain equipment. Check that all heating vents and registers are open and unobstructed by furniture or rugs. If you have a forced-air system, listen for unusual sounds during the first heating cycle and check that all rooms receive warm air. For boilers and radiators, bleed radiators if needed to remove trapped air. If your system hasn't had a professional tune-up in the past year, scheduling one before the heating season begins is generally considered good practice.
Clear gutters and inspect the roof
Remove leaves, twigs, and debris from gutters so melting snow and ice have a clear path to drain. Clogged gutters trap water that refreezes and can form ice dams - ridges of ice at the roof edge that force meltwater under shingles and into your home's structure. From the ground or a stable ladder, visually inspect the roofline for missing, curling, or damaged shingles. If you spot damage, contact a licensed roofing contractor for an assessment before winter weather arrives. Do not attempt to walk on a roof without proper safety equipment and training.
Test smoke and carbon monoxide detectors
As heating systems start running continuously, functioning smoke and carbon monoxide (CO) detectors become especially important. Test each detector using the test button. Replace batteries in battery-operated units - many fire safety organizations recommend doing this at daylight saving time changes, which aligns conveniently with pre-winter preparation. Replace any detector that fails the test or is more than 10 years old (smoke) or 5-7 years old (CO), following the manufacturer's guidance for your specific unit.
Gas Lines and Electrical Work: Call a Professional
This guide covers standard DIY winterizing tasks. Any work involving your home's gas supply lines, electrical panel, or structural components requires a licensed professional. If you suspect a gas leak - indicated by smell or a hissing sound - leave the home immediately and call your utility provider and emergency services. Do not attempt to locate or repair a gas leak yourself.
Insulation and Air Sealing: A Closer Look
Many homeowners underestimate how much heat escapes through small gaps rather than through walls themselves. Common culprits include the gap around plumbing and electrical penetrations through exterior walls, the space where the foundation meets the framing (called the sill plate), and poorly sealed attic hatches.
Foam backer rod and caulk handle most small gaps. Weatherstripping handles door and window frames. Spray foam in a can works well for larger voids around pipes and wires. Be aware that insulation decisions - particularly in attics and walls - involve considerations like vapor barriers and R-value requirements that vary by climate zone. For a deeper look at what insulation choices actually accomplish, insulation myths that cost homeowners comfort and money separates common misconceptions from fact. Your local building authority can tell you what R-values are recommended for your region.
Attic and Wall Insulation Requires Care
Adding insulation to attics and walls is generally not a simple DIY project - it involves understanding vapor barriers, ventilation requirements, and local building codes. Improper insulation installation can trap moisture and lead to mold or structural damage. If you're considering adding significant insulation beyond basic pipe or hose bib covers, consult a licensed insulation contractor or your local building department first.
Don't Forget the Garden and Outdoor Spaces
Winterizing extends to anything outside that could be damaged by cold or that you'll want in good condition come spring. Drain and store garden hoses completely - even a small amount of residual water can freeze and split the hose material. Bring in clay or ceramic pots, as freeze-thaw cycles crack them. Cut back perennials where appropriate for your hardiness zone, and apply a layer of mulch around the root zones of tender shrubs to moderate soil temperature fluctuations.
Knowing your USDA plant hardiness zone helps you determine which plants need extra protection and which are cold-hardy enough to overwinter in place without intervention. Understanding hardiness zones and what they mean for your garden explains how to find your zone and apply that information practically. Once winter passes, spring garden prep walks you through getting everything ready to grow again.
The content on this site is provided for informational purposes only and should not be considered a substitute for professional advice. While we strive to provide accurate and up-to-date information, we make no guarantees regarding its completeness or accuracy. Always consult a qualified professional for advice specific to your circumstances before making any decisions.